Feeds:
Posts
Comments

Archive for the ‘creative process’ Category

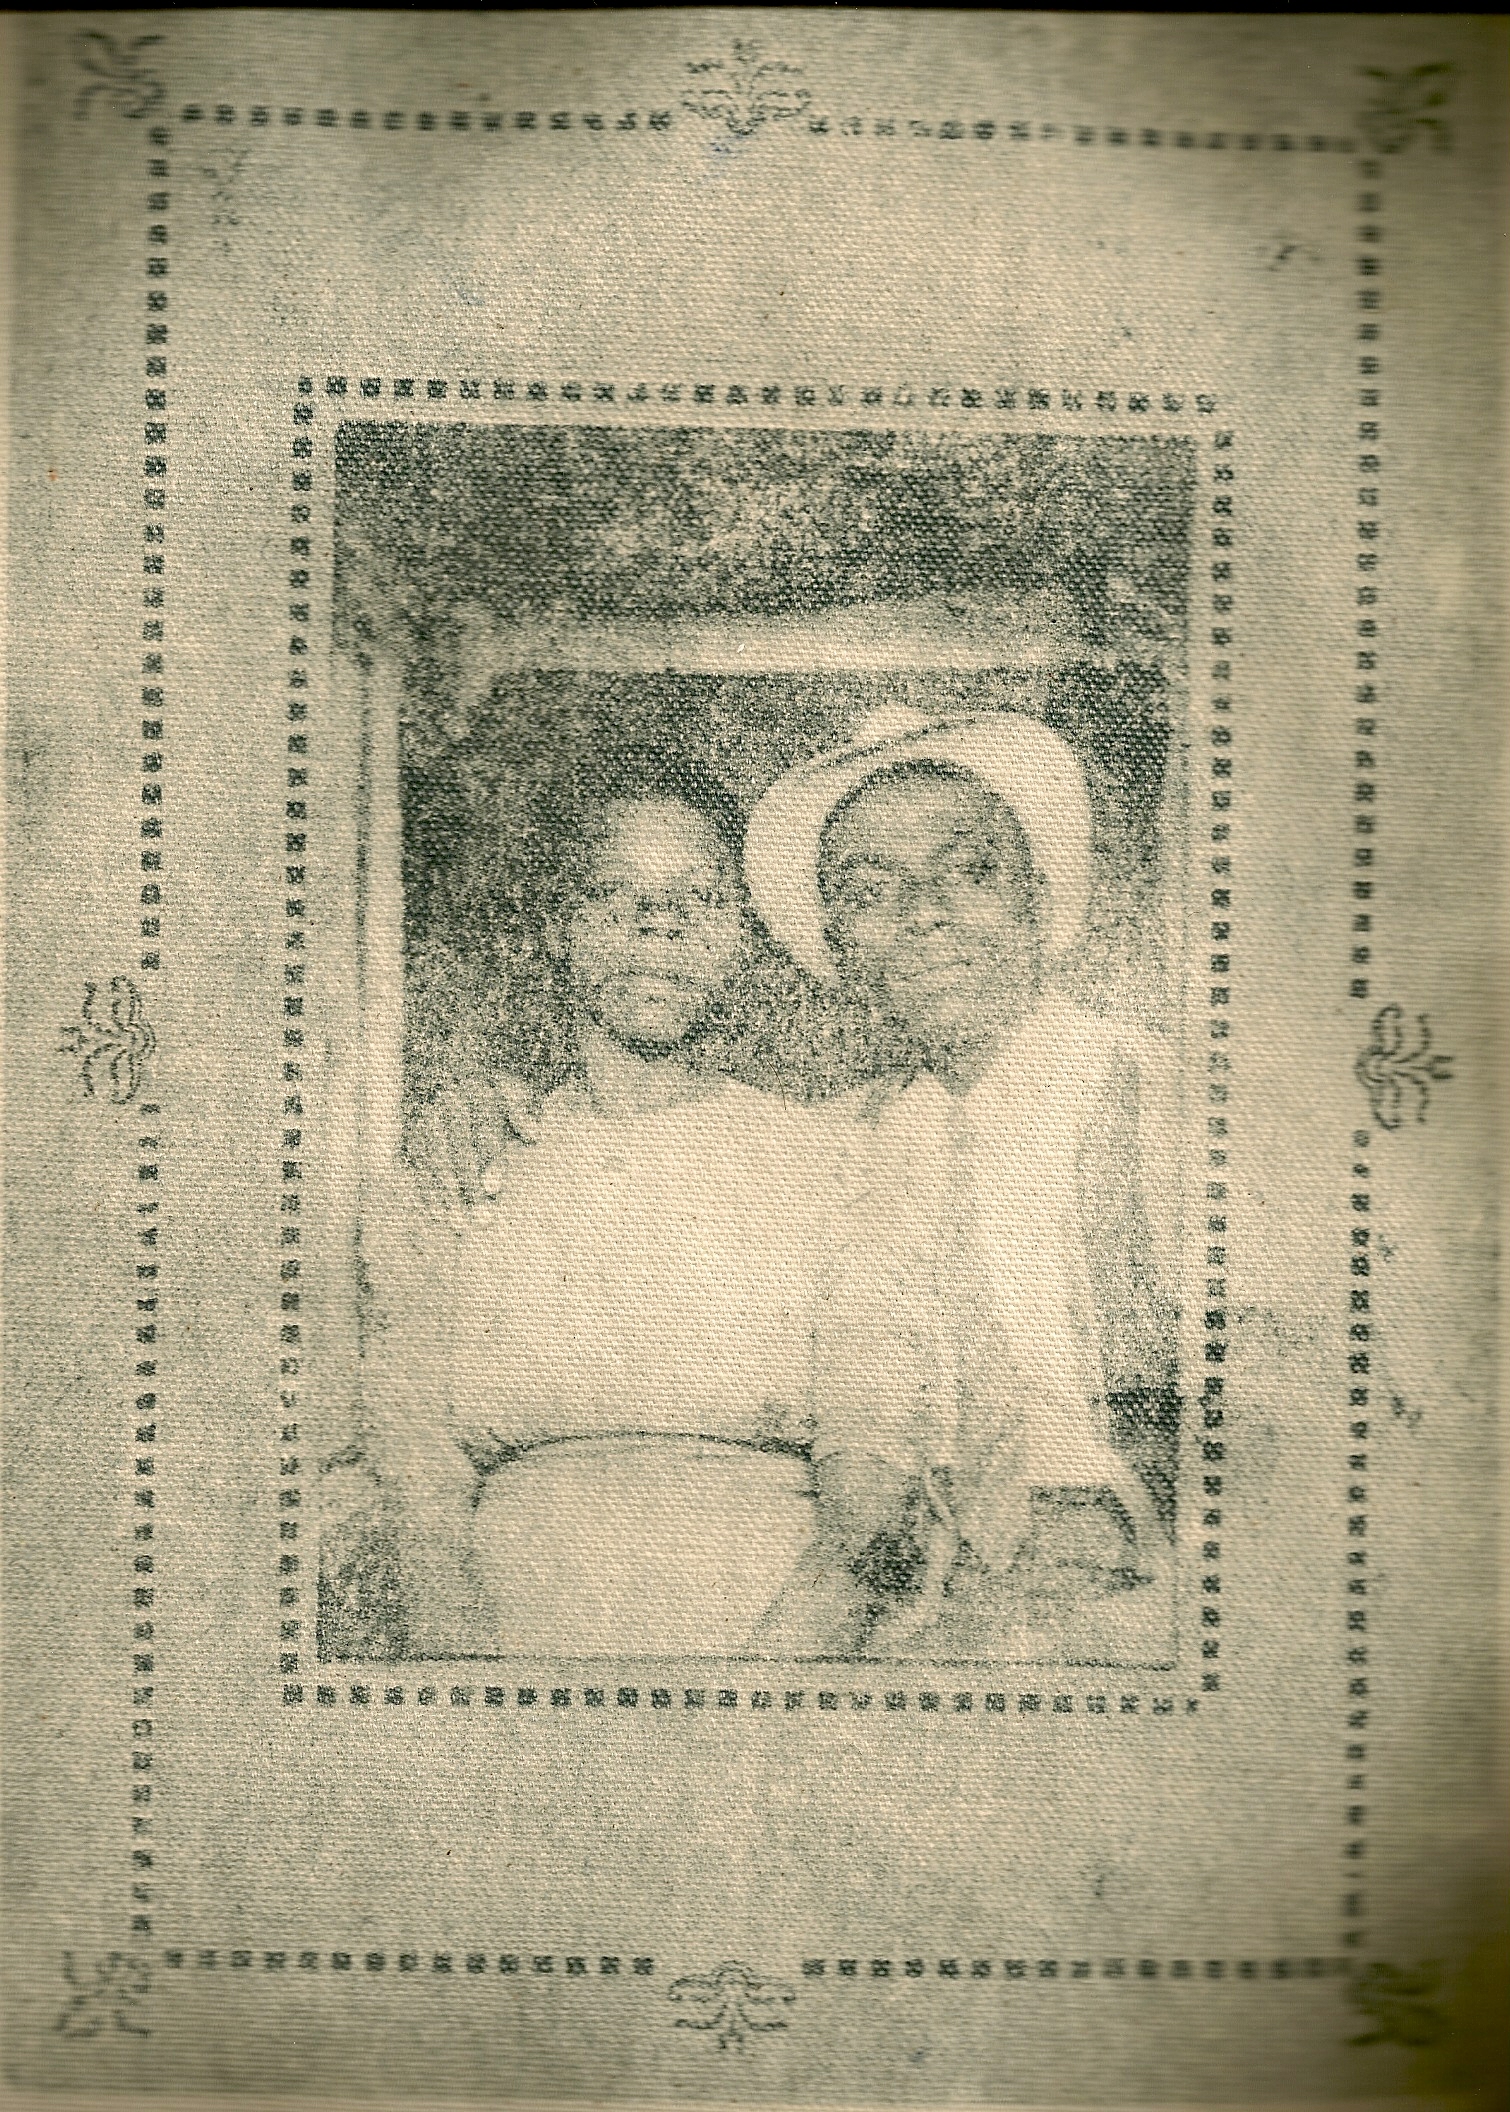
The Quilts for Obama show continues to get a great deal of buzz.  I recently found out that there is a possibility that the show could be extended.  Nothing has been confirmed yet but I will let you know.  In the meantime, Sonji Hunt has been collecting links of the 44 artists in the show.  After you have finished visiting here please take a look at Sonji’s blog to see the fabulous work of the show participants.

olokunversion1

I have been working on a new piece for a show about Africa

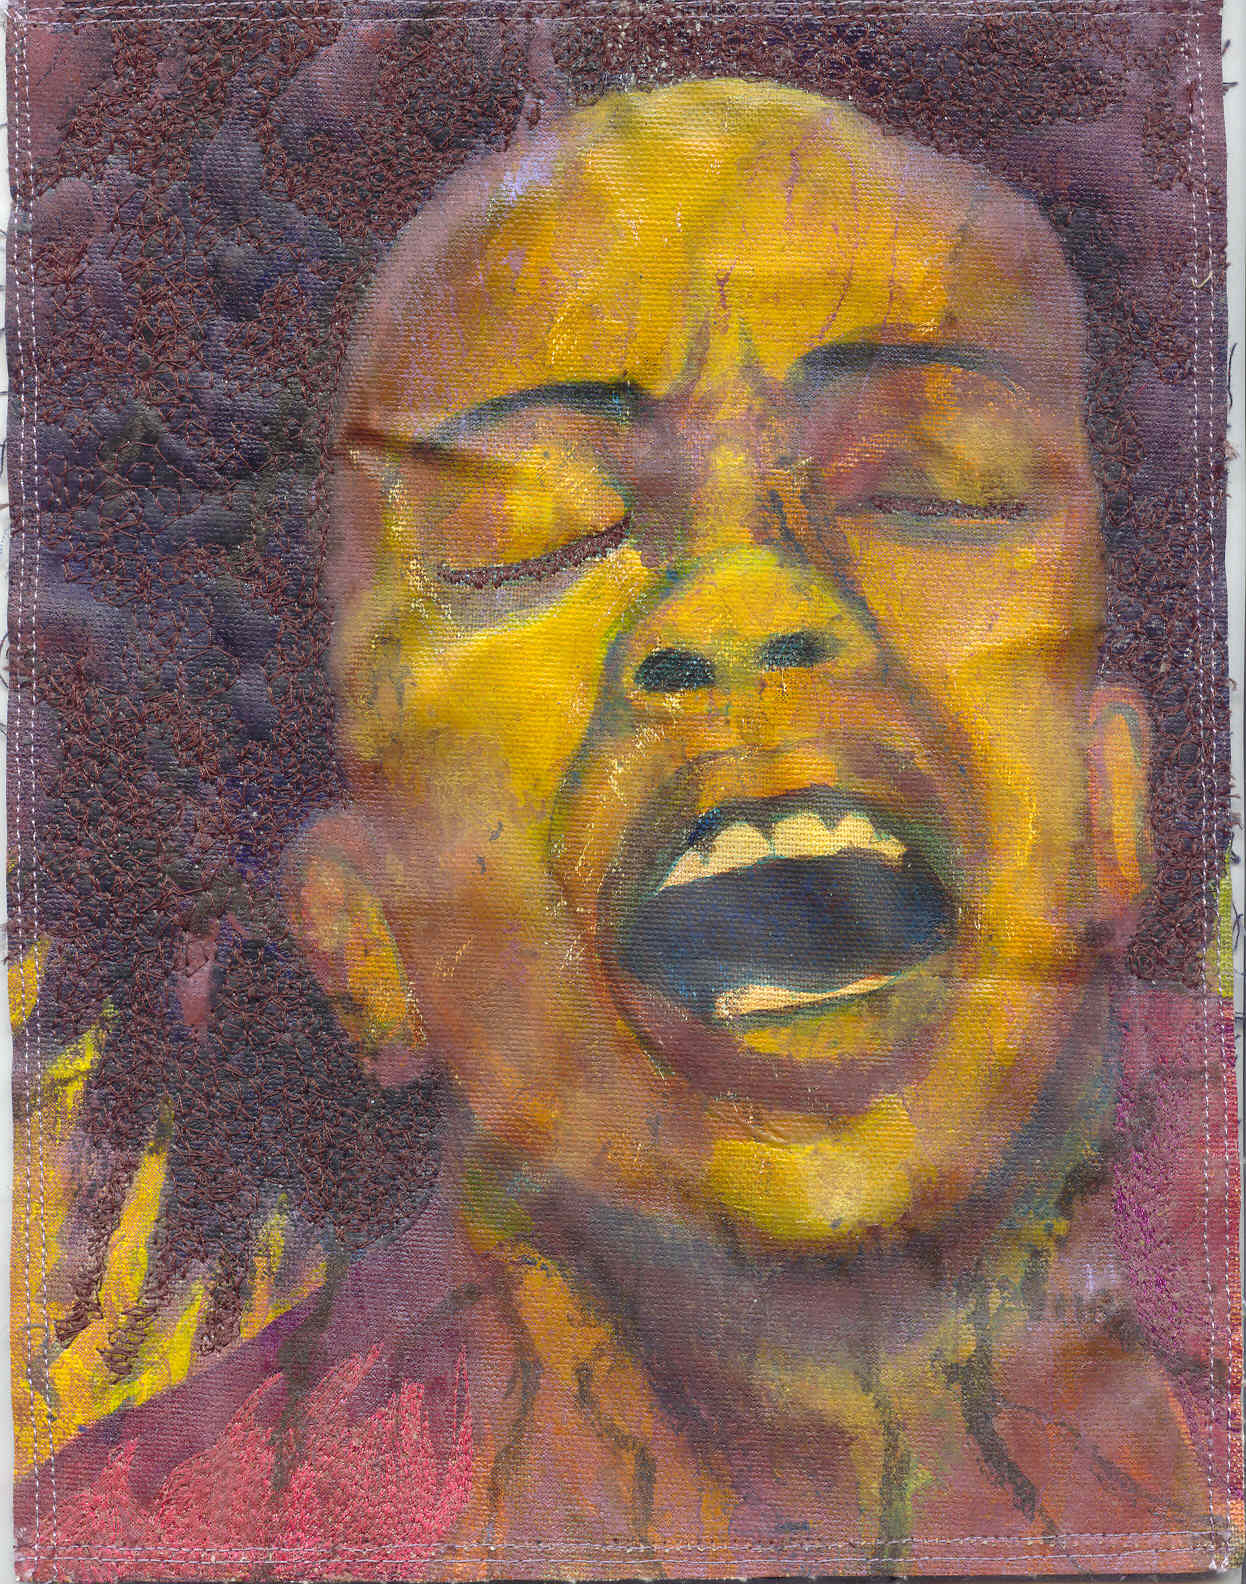
n Merwomen and Merwomen.  My quilt is called Olokun kept Us. Olokun is said to be the keeper of the deepest part of the sea.  She is often depicted as a mermaid. Sometimes she is described as being/connected to Yemaya.  The quilt I  constructed evolved from a dream I had.  I had been reading Nature’s Studio by quilt artist Joan Colvin.  I admirolokuntransfer1e her work and found some of her collage techniques interesting.  In rendering Olokun I wanted to show her deep in the water but I also wanted her to be a part of the water.  Reading Colvin’s book got me to thinking about ways to make my figure blend into the background fabric.  I did not want to applique the image or have her sit on top of the fabric.  I began this quilt three times before I got the effect I wanted. Here is the first “block” I created.  I came up with the idea of  painting Olokun on to iron on adhesive and then transfering the image onto fabric.  I thought that this was one way I could get the sheer look I wanted — where the figure would look like it was emerging from and was one with the background.  So, I held my breath and used a light gray colored pencil to sketch in the figure. I then painted the figure on to Heat n Bond lite with liquid acrylic paints.  I let my painting dry, cut it out and got my iron out and this is what I got in my first attempt

olokuncutout1

olokuntransferonfabric1

What I discovered in this process is that Heat n Bond Lite is not the correct adhesive to use for this process.  I found it too plasticky.  Also, the ransfer became hard and peeled in someareas.  Still I felt I was on to something so I decided to try it again.  In the next version I made a more detailed drawing and really focused on painting the face. This time I decided to paint on Wonder Under.  Here is a picture of the painting in progress.  My next post will show the steps I went through to complete the transfer and build the rest of the quilt.

olokunpainting21

Read Full Post »

washingtonhistoricalsocietyfront

meoutsidethemuseum

So, many of you know that I was one of the 44 artists selected to participate in the Quilts for Obama Exhibit.  I am still so excited to have participated in the celebration of our 44th president in this way.  I am even more excited because the exhibit took place in my home town.  My family was able to attend the opening. There is a buzz in DC that I have never experienced before and it felt so good to be home. People talk about “Washington” as if it is just a place where people do politics.  I know it as Washington, DC a city of neighborhoods and everyday working people. But I digress. . . .

meandmyquilt

The quilt I made for the exhibit is called “And so there is hope. There is hope.”  It is made in the tradition of the Egungun costumes of the Yoruba people.  When Carolyn Mazloomi called me to participate in this exhibit I had already had a sketch in my sketchbook of the quilt I eventually created.  I wanted a way to pull together all of the hopes, dreams, charms and prayers I collected while working On President-elect Obama’s campaign.  When doing the intial research for the quilt I  learned that traditional communities of the Yoruba people honor their ancestors through the creation of  Egungun costumes.  The costumes are said to represent the collective force of the ancestors who bless the living. When the costume is worn, dancers spin around and the long colorful arms spin out as though the ancestors are touching us. I want President-elect Obama to feel all of our arms lifting him up in prayer, reaching out in support, digging in to do our own work.  As President-elect Obama often says he can not do any of this work alone.  Indeed he needs each one of us.  We truly are the ones that we have been waiting for.   

Statement about the Quilt:
After standing in line for 4 1/2 hours to vote, when it was finally my turn to step up to the terminal I stared at the screen for a good while before I touched it for Barack Obama and Joe Biden.  As I touched the screen I called the names of family members who had not lived to see this day.  This quilt is made in the tradition of the Egungun costume. It embodies prayers, ancestral spirits and of course hope.

deborahgraysonbaileyobamaquilt

Read Full Post »

2008 Wins

  • One of 44 artists selected for the Quilts for Obama  exhibit at the Historical Society of Washington. The exhibit will open on Sunday January 11, 2009.  Here’s a sneak peak:
Close up from my Obama quilt for the show. The  name of the Quilt is "And so there is hope.  There is Hope."

Close up from my Obama quilt for the show. The name of the Quilt is "And so there is hope. There is Hope."

_

  • Finally completed the blue prints for the big Blog and website move.  You will see improvements soon.
  • Was the focus and featured artists of two news stories about my work
  • Took three new workshops in encaustics and printmaking and met a number of fabulous artists

encausticexampletwodeborahgraysonbaileyweb

encausticexampleonedeborahgraysonbailey

    • Regularly kept my sketchbook and experimented more with COLOR and new media
    • Invited to become a member of a wonderful critique group that I cannot wait to get started with
    • I went to my studio everyday (even if some days all I did was to  lay in the floor and take a nap)

    Goals for 2009

    I did a little research on the number nine.  I learned that some believe that 9 holds the energy of attainment and completion and that with closure we are faced with renewal. We all know that there is no ending without a beginning.  As I mentioned on the UrbanWildflowerBlog here is to a renewed passion for art and creativity.

    • Get out there and enter more shows!
    • Complete the big blog and website move
    • update my mailing list
    • get new post cards made of my work
    • meet more fun artists!
    • Draw everyday
    • Continue to work on printmaking (this is the year of experimental screenprinting and monoprinting for me)
    • Continue to play with encaustic and in acrylics (though not necessarily in the same piece!!!)

    Read Full Post »

    Here is another example of a block I did using the xerox roll up technique. Several of you have written to me to ask about the steps involved. I will describe below with the assumption that you have some experience with printmaking techniques (please note that other than silk screen, I had very little experience!)

    First, the image

    scan0001.jpg

    As with the image below I printed on canvas. I like the added texture and graininess that canvas adds to the image. I have not decided whether I will keep the border on the finished piece or not. Maybe I will cut it down. I don’t know yet. Anyway, here are the steps I learned to create this image.

    1. Make a copy of a personal photograph or copyright-free image. Enlarge the image if you choose.
    2. Cover the back of the copied image with a light coating of gum arabic and attach it to your plexi-glass plate (make sure that your plate has beveled edges before you run it through the press).
    3. once you have attached the copy to the plate cover the front of the image with a light coating of gum arabic.
    4. At this point I have a bucket with a large sponge on my printing table. I also roll out my ink making sure it has a nice swishing sound when I roll it out (I know, not scientific but what can I say!?)
    5. Take the sponge and squeeze water on the image covered with gum arabic. Blot the water with the sponge.
    6. Starting in the middle of the image (not on the edge where it will tear or lift the image) begin to roll ink over the copy.
    7. ALternately squeeze water over the image, blot and roll ink until you begin to see a build up of the ink. Then you are ready to print.
    8. Follow necessary procedures to protect the press before you are ready to print.

    I learned this technique at the Atlanta Printmaker’s Studio from Terri Dilling. Hope I have answered your questions!

    Read Full Post »

    scan0008.jpg

    I can’t believe that we are already at the end of February. Luckily it is leap year this year or I would have missed posting in February completely. Couldn’t let that happen. February is my birthday month (Feb 19th) so I always hate to see it go. I

    For the last 8 weeks I have been thoroughly enjoying the printmaking class I mentioned in an earlier post. I have been experimenting with inks, dyes and paints to create images on cloth — usually canvas. A number of these images will find their way into larger pieces. For now, they are just blocks. My work in printmaking has been specifically focused on monoprint techniques. In particular, I have done inkjet transfers, xerox transfers using wintergreen oil and a technique called xerox roll up. Xerox roll up is a faux-litho technique that uses gum arabic, water, oil-based inks and color xeroxes. In the first example I manipulated a found photo of some ancestors. I have already begun to sketch out the project I want to build around this image. In the second example I used color copies of Michelle Obama and my own mixture of blue ink to print these images on canvas.

    Michelle Obama Xerox Roll-up Image

    Read Full Post »

    A funny thing happened on the way to the trashcan. I found a quilt. The pieces in this exploration quilt come from scraps from other projects. I usually toss medium to large scraps in a basket on the floor near my cutting table.  After (attempting to ha, ha) tidy my studio after working I thought I would dump the basket.  And then all of these batik scraps and some of my hand dyed scraps fell on the floor.  I began to sew the strips together, cut them and sew them together again.  Hmmm, I said to myself, what would happen if . .  . . and here is what I have so far . .  .

    Exploration Quilt #3 http//www.dgbquilts.wordpress.com

    Though I have completed this exploration quilt for now I decided not to layer it piece because I think I want to grow this into a wall or lap quilt.

    Read Full Post »

    scan0001.jpg scan0003.jpg

    I mentioned before that I was going to make a point of getting out of my studio and out of my own little world more. My first step was taking the plunge to participate in an 8 week workshop on monoprinting at the Atlanta Printmakers Studio. I am sad to report that I have found a new addiction. Karoda mentioned that like quilters, printmakers have their own language, tools and groups. I already knew this from my days as an undergrad. Still, I let myself go into this space knowing that I would be drawn in. Shame on me (not!). Monoprinting is a favorite among many because of its painterly style. Since I love painting this workshop seemed like a match for me. This year I want to explore as many ways to get images on fabric as possible. This process especially includes the unusual and extraordinary. I am experimenting on paper and fabric during this workshop. Right now I am using soy based inks. Next week I will be experimenting with water-based inks and procion dye. I have a batch of sodium alginate setting up right now. Here are some samples of my work on paper. Used the soy based ink and Utrecht’s American Masters printmaking paper. The images are drawings I did for my next several exploration quilts based on LOVE. I obviously need to keep working but I am proud of my first efforts. I see the potential of new and exciting things to come. I have plans to go back in to two of these images and do a little watercolor to bring out the images more. What I like about this method of trace monotype is the interesting line that you can get.

    With this image I tried drawing in the ink with odorless mineral spirits. Kind of creepy but I kind of like it.

    scan0002.jpg

    Read Full Post »

    Googras Crochet Block

    I was deep in the throes of working on my latest two exploration quilts when I realized I needed to take a break. Sometimes you need to walk away before you can actually see what you are doing. I will return to the exploration quilts a bit later today. For now I want to talk about what we do as quilt and doll artists, as painters and sculptors, as makers of things with our hands. I was reading Paula Hewitt’s blog, The Beauty of Life this morning and she asks the following

    I wonder what we would think if our work was so undervalued by the people we give them to, or by our descendants. What is going to happen to all the quilts, embroideries, postcards, ATCs we are making? Do we care? Is it enough to be creating, designing, doing…providing a beautiful/useful/artistic piece…or is it important too that these pieces are cherished? I wonder if the women back in the 1800’s making samplers for their own purposes – remembering and practising stitches, quilts for their beds out of scraps, making their homes beautiful – wondered what would become of their work. Would they be surprised to see how highly it is regarded now? Are they valued because they are relatively rare, or because they are old and tell us something of our past, or both?

    Have you ever wondered about this? I know I feel so good to have been able to collect and preserve the hand work of my grandmother and great grandmother. I have a quilt my maternal great grandmother made. My great aunt saved it and passed it down to me. Apparently my great-grandmother made a quilt for each of her 12 (?) children. We are not sure how many of the quilts survived but I do know that I have one. The quilt is so heavy that if someone threw it over you when you weren’t looking it would probably take your breath away. I was told by my Aunt Viola that the quilt has clothing from several of her siblings in it. Cotton truly is the fabric of our lives. Something about touching scraps from the clothing that my ancestors wore makes me feel more connected to them. I also have three handkerchiefs that she embroidered. I carried one on my wedding day. All of the handkerchiefs are very delicate. The one I carried when I got married has a blue cone flower embroidered on the edge. Finally, I have twelve purple and pink blocks that my grandmother crocheted. The squares are purple and she then crocheted pink flowers on top of the block. She kept trying to give the blocks to me herself but I am ashamed to say that I was always too busy to fly up and go get them. She finally gave them to my father to mail to me here in Georgia. Somehow she knew how much they would mean to me. When she went home to be with the Lord I immediately went to the cabinet where I had placed them to touch them.

    I definitely value — really cherish handwork of my ancestors. When I quilt or make dolls or paint I think it is always in the back of mind that I am leaving some type of legacy for future generations. I always wonder about how family pictures, quilts and other family heirlooms end up at estate sales or on e-bay. Yes, I have spent a small fortune trying to rescue these materials. I have all kinds of wonderful pictures, antique blocks and handkerchiefs that I attempt to preserve and/or use in my art work. It’s my way of saying “you are not forgotten and thank you.” One of my favorite artists, Whitfield Lovell , does installations of large charcoal drawings featuring “rescued pictures.” Mr. Lovell is a 2007 recipient of the MacArthur or “Genius” Award. Genius indeed.

    I think a lot of the responsibility falls on us as artists to educate people about what we do and why and how we do it. Make sure you DOCUMENT all of your work. Keep a journal, a sketch book, write detailed labels about why you created what you did. I promise you that a great granddaughter, a granddaughter, a daughter, a son, will be very glad that you did.

    Read Full Post »

    As I mentioned below one of my art goals for 2008 is to create a small weekly quilt. This is not an original thought obviously since so many others have been taking part in this process for years. Still, I think I will learn a lot by working this way. In the midst of working on larger projects I find sometimes that it is nice to stop and do something small. Working small is also a way to clear my head.

    SCREAM by Deborah Grayson Bailey

    Here is my first exploration quilt, “Scream.” Unlike my usual process I did not do a thumbnail before I began. I simply sketched right on the canvas. I used primed 7oz canvas as my surface, painted the face and then stitched. I did something weird here that gave me an interesting result. When I painted the face it was too yellow (I was going for a glow). Using Golden matte glaze I covered the entire face in purple to tone it down and then I went back in and rubbed off the paint in areas where I wanted highlights. You can still see some areas where the paint dried on me and I couldn’t get it off. At first I panicked because I had a big purple mess. Still, I kept rubbing. I then free motioned stitched the hair to make her face pop more. I wasn’t using the right needle for stitching through the canvas but I kept going. Despite the look on *her* face *I* am pretty happy with the result. The piece is neither beautiful nor horrible it just is.

    In the coming week I hope to experiment with either monoprinting or silk screen. Right now I am finishing another 8×10 piece using my printer and neon pink thread. Exploration is GOOD.

    Read Full Post »

    I love a fresh start. I am really excited about completing a few items I have left from 2007 and embarking upon new goals for the coming year. I have never been so on fire about my work. In 2007 I committed myself to dedicating a piece of everyday to my art work. It was simply a matter of making up my mind to do it. This year I want to up the ante a bit more and be more free in my creativity. So, without further delay here are my art goals for 2008.

    2008 Art Goals

    Learn and Expand. Last year I kind of hunkered down and stayed in the studio exploring on my own. This year I want to explore with others.

    • start a small critique group with other artists (I have already put out the call and we will be meeting at the end of this month)
    • update skills on low water immersion dying (cuz we are in a drought here in N. Georgia)
    • take part two of the CS3 Illustrator and Photoshop classes I began in the fall
    • study printmaking and encautics
    • Dedicate more time to PLAY. I have been inspired by Jean Williamson and many on the QuiltArt and Afam list to make a small quilt every week. I have cut a few muslin squares ahead of time to get me started. My brain is already on fire with ideas 8 ). The size of these exploration quilts (my term for this process) will be between 8×10 and 11×14. I have already finished the first two.
    • Continue to draw everyday and do studies in my trusty sketchbook

    The Business of Art.

    • Exhibit more which means entering in more shows that interest me.
    • update my statement and biography
    • Blog because I love it and blogging is a great marketing tool
    • create post cards
    • determine which memberships and subscriptions I will continue for the year.
    • purchase software to maintain database of inventory and customers

    For the rest of my goals please look HERE

    Read Full Post »

    Older Posts »